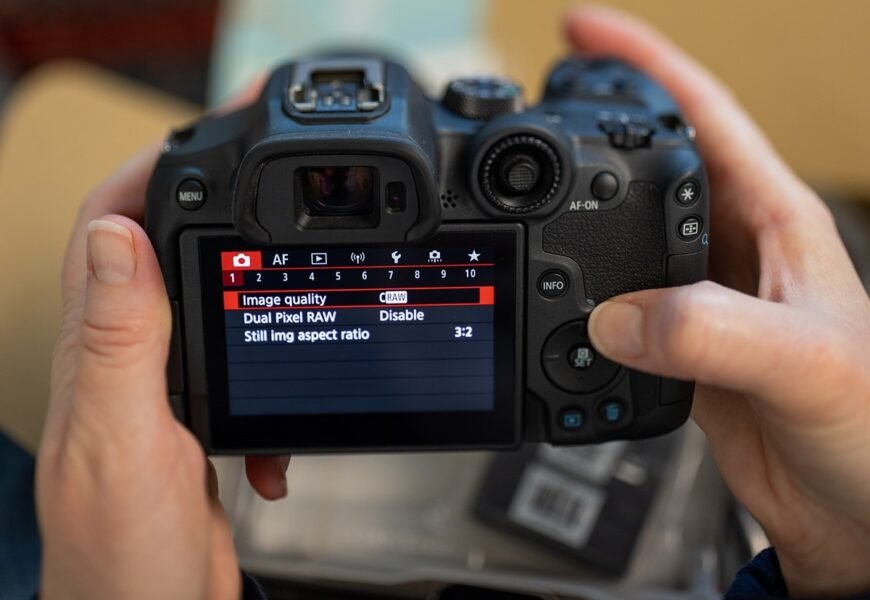
Photography is an art that blends creativity with technical skills. At the heart of this blend lies the understanding of your camera settings. Mastering these settings not only helps you take better photos but also empowers you to push the boundaries of your creativity. This article aims to demystify the various camera settings, providing you with the knowledge you need to take control of your photography.
1. The Basics: Aperture, Shutter Speed, and ISO
Aperture
Aperture refers to the size of the opening in the lens through which light enters the camera. It is measured in f-stops (e.g., f/1.8, f/2.8, f/16). A lower f-stop number means a larger aperture, allowing more light to hit the sensor. Conversely, a higher f-stop number indicates a smaller aperture, letting in less light.
Aperture affects depth of field—the area of the image that appears sharp. A large aperture (small f-stop number) creates a shallow depth of field, ideal for portraits where you want the subject to stand out against a blurred background. A small aperture (large f-stop number) increases the depth of field, suitable for landscapes where you want everything in focus.
Shutter Speed
Shutter speed is the duration the camera’s sensor is exposed to light. It is measured in seconds or fractions of a second (e.g., 1/1000s, 1/30s, 30s). A fast shutter speed freezes motion, making it ideal for action photography. A slow shutter speed allows more light in, which is useful in low-light conditions but requires a steady hand or tripod to avoid blurriness.
Shutter speed also influences motion blur. Slow speeds can create artistic effects, such as the flowing water in a waterfall appearing silky smooth. Fast speeds are essential for capturing sharp images of fast-moving subjects like sports or wildlife.
ISO
ISO determines the camera sensor’s sensitivity to light. A lower ISO (e.g., 100 or 200) means less sensitivity, resulting in cleaner images with less noise. A higher ISO (e.g., 1600 or 3200) increases sensitivity, useful in low-light situations but at the cost of introducing more noise into the image.
Balancing ISO with aperture and shutter speed is crucial. While a high ISO can compensate for low light, it’s preferable to keep it as low as possible to maintain image quality.
2. Advanced Settings: White Balance, Focus Modes, and Metering
White Balance
White balance adjusts the color temperature of your photos to ensure that whites appear white and colors are rendered accurately. Different light sources have varying color temperatures, and incorrect white balance can result in unnatural color casts.
Most cameras offer preset white balance settings (e.g., Daylight, Cloudy, Tungsten, Fluorescent) and a custom white balance option where you can set the color temperature manually. Understanding and adjusting white balance helps you achieve natural-looking photos in different lighting conditions.
Focus Modes
Focus modes determine how your camera focuses on a subject. The main modes are:
- Single-Point AF (AF-S): Focuses on a single point, ideal for stationary subjects.
- Continuous AF (AF-C): Continuously adjusts focus as the subject moves, perfect for action shots.
- Automatic AF (AF-A): The camera switches between single and continuous focus based on subject movement.
- Manual Focus (MF): You control the focus manually, useful for precise focusing needs, especially in macro photography.
Choosing the right focus mode ensures your subject is sharp and in focus, no matter the shooting scenario.
Metering
Metering determines how your camera measures the brightness of a scene to set the correct exposure. Common metering modes include:
- Evaluative/Matrix Metering: Measures light across the entire frame and calculates the best exposure.
- Center-Weighted Metering: Focuses on the central area of the frame while considering the surrounding areas.
- Spot Metering: Measures light only at a specific point, useful for high-contrast scenes where you need precise control over exposure.
Understanding metering modes helps you tackle various lighting conditions effectively, ensuring your photos are neither too dark nor too bright.
3. Creative Controls: Picture Styles, Drive Modes, and Image Stabilization
Picture Styles
Picture styles (or picture controls) allow you to apply different looks to your photos directly in-camera. Options typically include Standard, Portrait, Landscape, Neutral, and Monochrome. Each style adjusts parameters like contrast, saturation, and sharpness to suit different subjects and shooting conditions.
Experimenting with picture styles helps you achieve your desired aesthetic straight out of the camera, saving time in post-processing.
Drive Modes
Drive modes control how your camera takes photos when you press the shutter button. Common drive modes include:
- Single Shot: Takes one photo per shutter press.
- Continuous/Burst Mode: Takes multiple photos as long as the shutter button is held down, ideal for capturing fast action.
- Self-Timer: Delays the shutter release, allowing you to join the shot or reduce camera shake during long exposures.
Choosing the appropriate drive mode ensures you capture the moment exactly as you envision it.
Image Stabilization
Image stabilization (IS) helps reduce camera shake, resulting in sharper images, especially at slow shutter speeds or when using long focal lengths. There are two types:
- Optical IS: Built into the lens and stabilizes the image before it reaches the sensor.
- In-Body IS: Integrated into the camera body, stabilizing the sensor itself.
Utilizing image stabilization allows you to shoot in challenging conditions without sacrificing image quality.
4. Practical Tips for Mastering Your Camera Settings
Practice Regularly
The best way to master your camera settings is through regular practice. Take your camera out often and experiment with different settings in various scenarios. This hands-on experience will help you understand how each setting affects your photos and build your confidence.
Learn from Others
Study the work of other photographers and learn from their techniques. Join photography communities, attend workshops, and seek feedback on your work. Engaging with other photographers can provide valuable insights and inspiration.
Keep a Settings Log
Maintain a log of the settings you use for different types of shots. Note down the aperture, shutter speed, ISO, white balance, and any other relevant settings. Reviewing this log can help you identify patterns and understand what works best in different situations.
Use Auto Modes to Learn
While it’s beneficial to learn manual settings, auto modes can serve as a learning tool. Pay attention to the settings your camera chooses in auto mode and try to replicate them in manual mode. This can help you understand how your camera interprets different scenes.
Be Patient and Persistent
Mastering camera settings takes time and patience. Don’t be discouraged by initial challenges. Keep experimenting, learning, and practicing. Over time, you’ll gain the expertise needed to capture stunning photos consistently.
Conclusion
Understanding your camera settings is the key to unlocking your full potential as a photographer. By mastering the basics of aperture, shutter speed, and ISO, and delving into advanced settings like white balance, focus modes, and metering, you can take control of your photography and create the images you envision. Remember to practice regularly, learn from others, and be patient with your progress. With dedication and persistence, you’ll transform from a beginner to a confident, skilled photographer capable of capturing breathtaking moments with precision and creativity.


